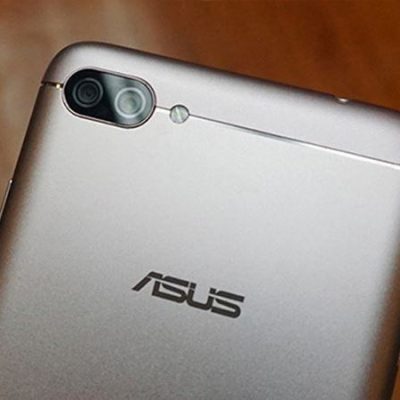
How To Bypass FRP Google Account For Asus Zenfone 3 Laser (ZC551KL)
Introduction:
Unlocking the full potential of your Asus Zenfone 3 Laser (ZC551KL) is an exciting venture, but dealing with Factory Reset Protection (FRP) can be a stumbling block. In this comprehensive guide, we’ll walk you through the process of bypassing FRP on your Asus device, ensuring a seamless user experience. Let’s dive into the steps while keeping things simple and straightforward.
Understanding FRP:
Factory Reset Protection is a security feature embedded in Android devices, including the Asus Zenfone 3 Laser. It is designed to protect your device and personal information in case of theft or unauthorized access. However, there are instances where users need to bypass FRP, such as when resetting a device without remembering the associated Google account details.
Step-by-Step Guide to Bypass FRP on Asus Zenfone 3 Laser (ZC551KL):
- Gather Necessary Tools:
- Before starting the process, make sure you have a computer, a stable internet connection, and a USB cable to connect your Asus Zenfone 3 Laser.
- Download FRP Bypass Tool:
- Search for a reliable FRP bypass tool suitable for Asus devices. Ensure it is from a reputable source to avoid potential security risks.
- Connect Your Device to the Computer:
- Use the USB cable to connect your Asus Zenfone 3 Laser to the computer. Ensure that USB debugging is enabled in the developer options.
- Install the Bypass Tool:
- Follow the instructions provided with the FRP bypass tool to install it on your computer. Most tools have user-friendly interfaces, making the installation process straightforward.
- Launch the Bypass Tool:
- Open the FRP bypass tool on your computer and select the relevant options for your Asus Zenfone 3Laser model (ZC551KL).
- Initiate Bypass Process:
- Start the bypass process as guided by the tool. This may involve following on-screen instructions or clicking specific buttons to initiate the FRP bypass.
- Wait for Completion:
- Allow the tool to complete the bypass process. This may take a few minutes, and it’s crucial not to disconnect your Asus Zenfone 3 Laser during this time.
- Reboot Your Device:
- Once the bypass process is complete, reboot your Asus Zenfone 3Laser. You should now have successfully bypassed the FRP Google account verification.
Conclusion:
Bypassing FRP on your Asus Zenfone 3 Laser (ZC551KL) is a relatively simple process when approached with the right tools and knowledge. By following the steps outlined in this guide, you can unlock your device and regain access without unnecessary complications. Remember to exercise caution when downloading tools, ensuring they come from trustworthy sources to maintain the security of your device. Now, armed with this knowledge, you can confidently navigate the FRP bypass process and enjoy a hassle-free experience on your Asus Zenfone 3Laser.
How to bypass FRP google account for Asus Zenfone 3Laser (ZC551KL)
Link download APK: https://addrom.com/bypass
See more: https://addrom.com/bypass-frp/


