How to install official stock rom on Vivo X20 (PD1709)

Title: Mastering the Basics: A Simple Guide on How to Install the Official Stock ROM on Vivo X20 (PD1709)
Introduction: Your Vivo X20 (PD1709) is not just a phone; it’s a gateway to a world of possibilities. To ensure it functions at its best, understanding how to install the official stock ROM is crucial. In this guide, we’ll walk you through the process step by step, making it as easy as a stroll in the digital park.
Section 1: Decoding the Stock ROM
- What is Stock ROM: Demystifying the Jargon
- Stock ROM, or Stock Firmware, is the pre-installed operating system on your Vivo X20. It’s the default software that the manufacturer provides, ensuring the device runs optimally.
- Significance of Stock ROM: Stability and Performance
- The Stock ROM is the backbone of stability and performance. It guarantees that your Vivo X20 operates according to the manufacturer’s specifications, providing a reliable and smooth user experience.
Section 2: Why Install the Official Stock ROM?
- Optimal Performance: Unleashing the True Potential
- Installing the official Stock ROM ensures optimal performance. Your Vivo X20 will operate at its full potential, delivering a smoother and more responsive user interface.
- Bug Fixes and Updates: A Seamless Experience
- The official Stock ROM includes bug fixes and updates provided by the manufacturer. This translates to a seamless and glitch-free user experience, addressing potential issues that may arise over time.
Section 3: Preparing for Installation
- Back Up Your Data: Safeguarding Memories
- Before initiating the installation process, back up your data. This includes photos, contacts, and any precious memories stored on your Vivo X20, ensuring they remain safe throughout the process.
- Check Battery Level: Ensuring a Smooth Journey
- Ensure your phone has sufficient battery or connect it to a power source. A well-charged device guarantees that the installation process won’t be interrupted.
Section 4: Step-by-Step Guide to Install Official Stock ROM on Vivo X20
- Visit the Official Vivo Support Page: Your Starting Point
- Begin by visiting the official Vivo support page. Locate the section for Stock ROM or firmware and download the correct file for your Vivo X20 (PD1709).
- Download Stock ROM: Precision Matters
- Download the correct Stock ROM for your Vivo X20. Pay attention to the model and region to ensure compatibility. Precision in this step is crucial for a successful installation.
- Connect Your Device to the Computer: Establishing the Link
- Use a USB cable to connect your Vivo X20 to your computer. This connection is essential for transferring the Stock ROM to your device.
- Launch the Flash Tool: Maestro of Transformation
- Launch the appropriate flash tool on your computer. Load the downloaded Stock ROM and configure the tool to match your Vivo X20’s specifications.
- Initiating Flashing Process: Witness the Magic
- Click on the “Start” button in the flash tool to initiate the flashing process. Watch as your Vivo X20 undergoes a transformation, with the official Stock ROM taking center stage.
- Completion and Reboot: Celebrating Success
- Once the flashing process is complete, disconnect your device and celebrate the success as your Vivo X20 reboots with the freshly installed official Stock Firmware.
Conclusion: Enjoying the Fruits of a Fresh Start
Congratulations! You’ve successfully installed the official Stock ROM on your Vivo X20 (PD1709). Your device is now ready to deliver a renewed and optimized user experience. Remember, this process is like giving your phone a fresh start, ensuring it serves you well for a long time. Happy exploring!
Note: The information provided in this article is based on general knowledge and may not cover specific details or updates related to the Vivo X20 (PD1709). Always refer to the official documentation and support for your device for the most accurate and up-to-date instructions.
DOWNLOAD:
HOW TO UPDATE:
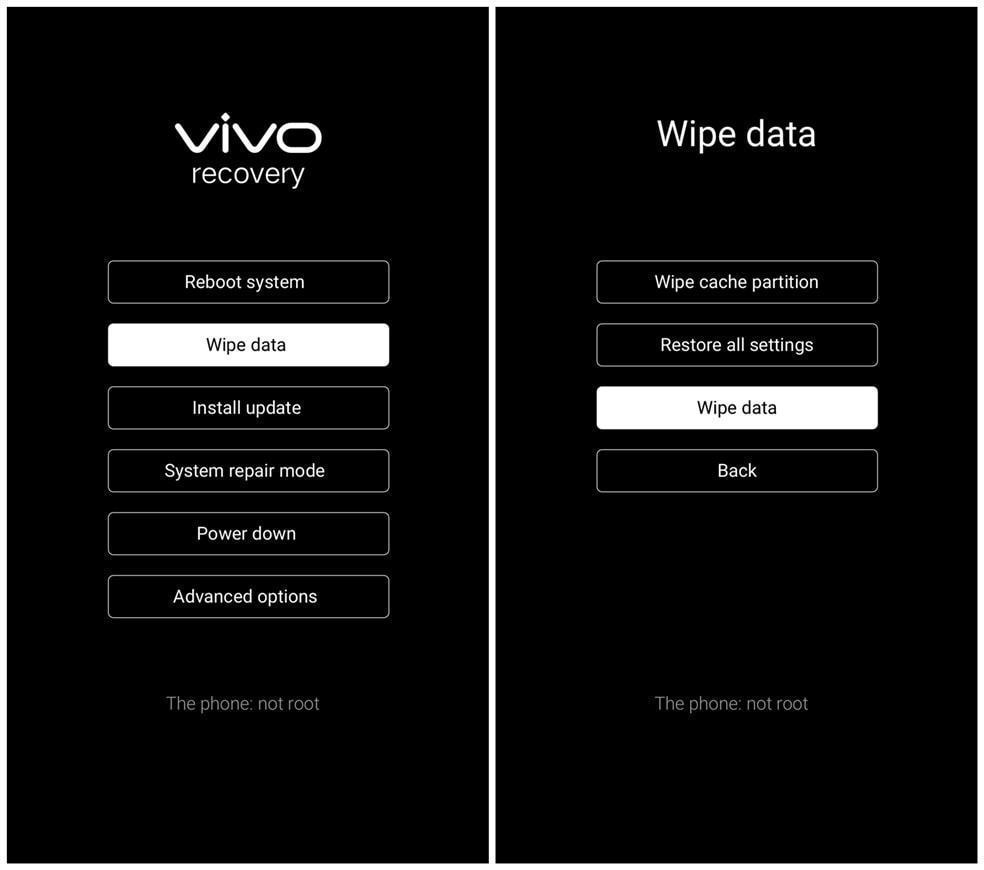
1. Perform Wipe data on your phone
a. Power off your phone, then press and hold Power button and Volume up button simultaneously until Vivo logo appears to enter Fastboot mode. Select Recovery mode by pressing Volume down button and enter it by pressing Power button;

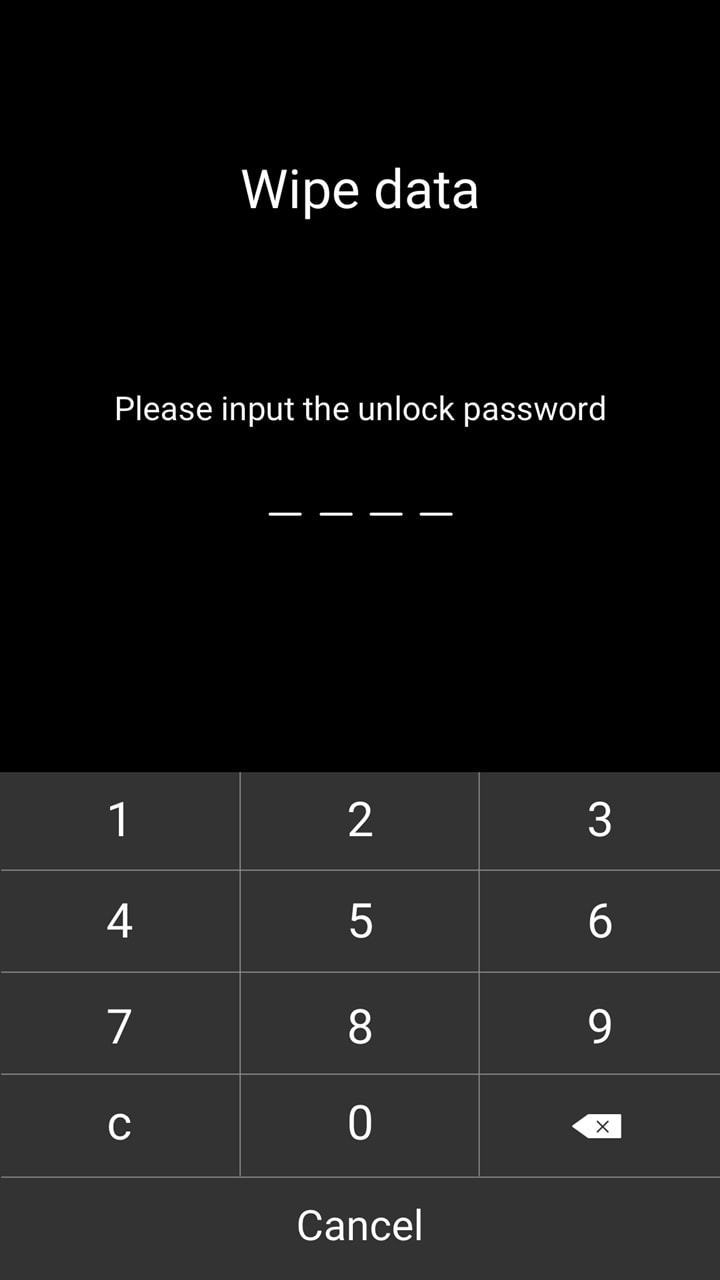
b. Touch Wipe data>Wipe data>enter the lock screen password. Then select Reboot system to reboot your phone.
2. Download the corresponding firmware for your phone;
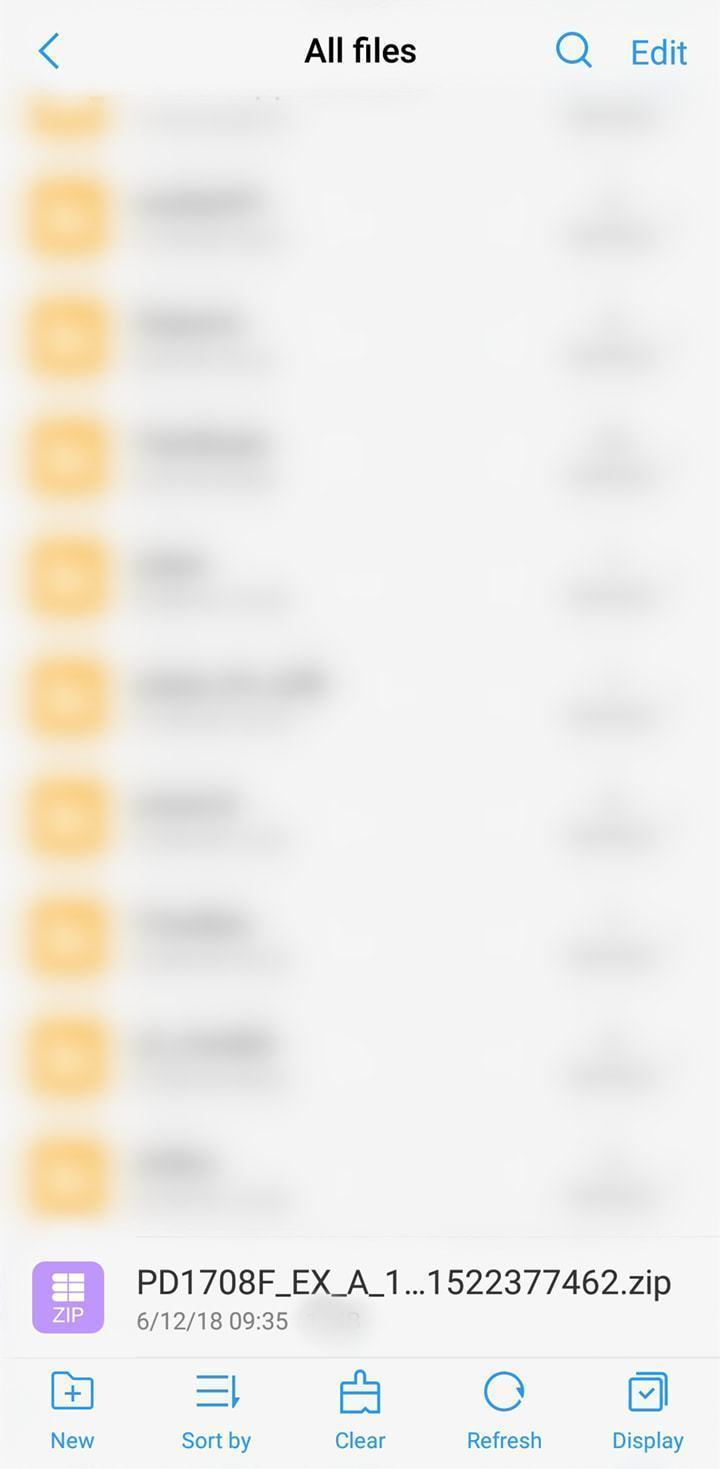
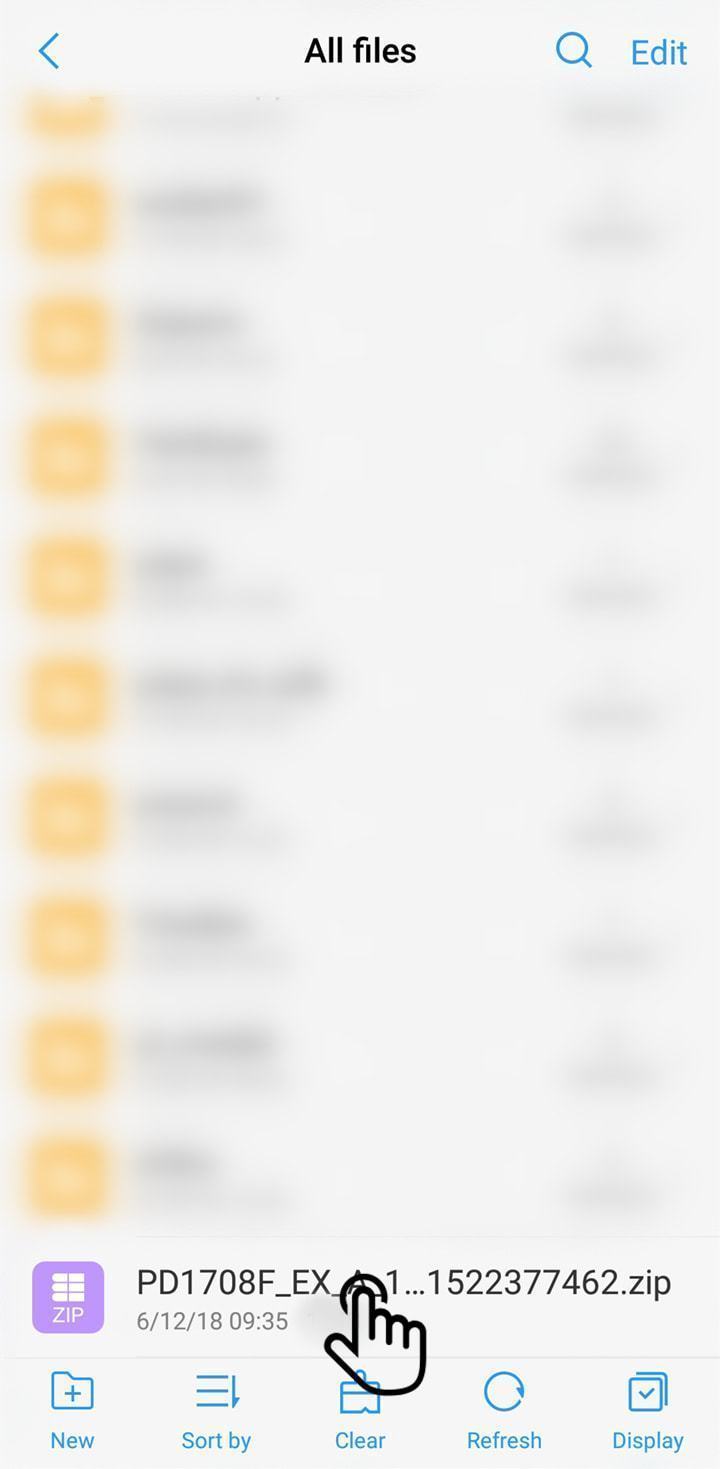
3. Move it to the root directory of your phone storage or SD card without decompressing;
Note: The root directory is basically the first thing you see when you open a file explorer on your phone. In other words, do not put the file in a folder. The files which you can find in Phone storage interface of File Manager locate the root directory.
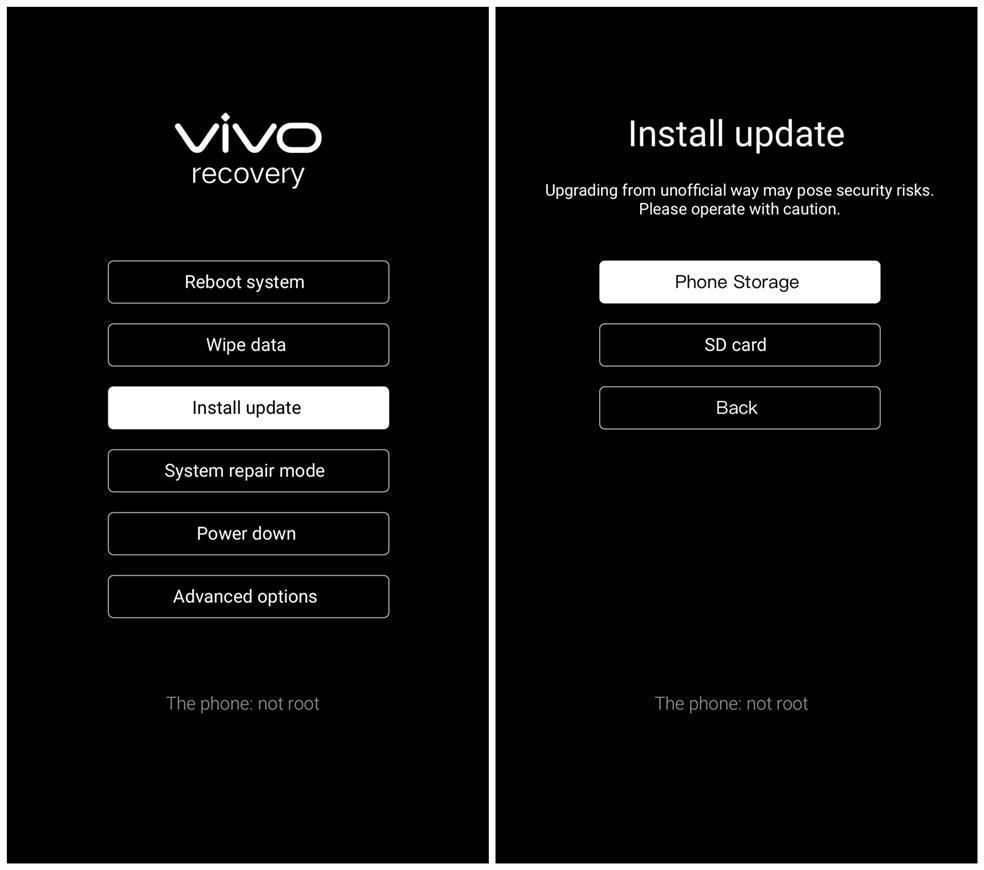
4. Install the firmware:
If you can enter your phone, click the firmware in File Manager to install it.
If you cannot enter your phone, follow the above steps to enter Recovery mode, then select Install update>Phone Storage or SD card>select the firmware>touch Next to install it.