Tutorial For Firmware Installation For Vivo T1 44W (PD2201F)
Introduction:
Unlocking the full potential of your Vivo T1 44W (PD2201F) is just a few steps away with the right firmware installation. In this user-friendly guide, we’ll take you through the process, ensuring a seamless experience without the need for technical expertise. Let’s dive into the world of firmware updates and elevate your Vivo T1 44W’s performance.
Understanding Firmware and Its Importance: Firmware acts as the backbone of your device, orchestrating the intricate dance between hardware and software. Regular updates not only introduce exciting new features but also iron out any wrinkles, keeping your Vivo T1 44W running smoothly. Installing the latest firmware is like giving your device a power boost, enhancing speed, security, and overall functionality.
Step 1: Check for Available Updates Begin your firmware journey by checking for the latest updates. Navigate to the ‘Settings’ on your Vivo T1 44W, select ‘System,’ and tap on ‘Software Update.’ This simple step ensures you’re starting with the most recent version available.
Step 2: Safeguard Your Data with a Backup Before embarking on any firmware installation, it’s wise to safeguard your data. Create a backup of your important files and settings to prevent any data loss during the update process.
Step 3: Download the Latest Firmware Package Visit the official Vivo website or use the ‘Software Update’ feature on your device to download the latest firmware package. A stable internet connection is crucial to ensure a smooth download process.
Step 4: Transfer Firmware to Your Device With the firmware package downloaded, transfer it to your Vivo T1 44W. You can connect your device to a computer using a USB cable or utilize convenient cloud storage services for a wireless transfer.
Step 5: Initiating the Installation Process Navigate to ‘System Update’ in your device’s settings and select ‘Local Update.’ Locate the downloaded firmware package and kickstart the installation process. Your Vivo T1 44W will automatically reboot as it installs the new firmware.
Step 6: Exercise Patience During the installation process, patience is your best friend. Avoid interrupting the update to prevent potential issues. Allow your device the time it needs to complete the installation, and you’ll be greeted with the latest firmware upon completion.
The Perks of Firmware Updates:
- Enhanced Performance: Experience a faster and more responsive device with performance optimizations included in firmware updates.
- Upgraded Security Features: Stay one step ahead of potential threats with the latest security patches, ensuring a protected user experience.
- Bug Squashing: Bid farewell to pesky bugs and glitches as firmware updates address and resolve existing issues.
- Discover New Features: Unlock exciting new features and functionalities that come bundled with each firmware update, expanding the capabilities of your Vivo T1 44W.
Conclusion:
Congratulations! You’ve successfully navigated the firmware installation process for your Vivo T1 44W. By staying proactive with firmware updates, you’re not only maximizing your device’s potential but also securing a smooth and enjoyable user experience. Embrace the newfound power of your Vivo T1 44W, and explore the endless possibilities that come with each firmware update.
Download
Tutorial for Firmware Installation
- Driver: driver_ex.rar | MediaFire | EasyShare
Warmly Tips:
- Limited by Android 8 and higher version, the phones with Android 8 and higher version cannot flash the lower version(You can check the current version of your phone in Settings>System update).
- Your data on your phone won`t be cleared. However, we also recommend you back up your important data such as contacts, messages before doing it. Moreover, make sure the battery capacity is sufficient(over 30%).
1. Download the corresponding firmware for your phone.
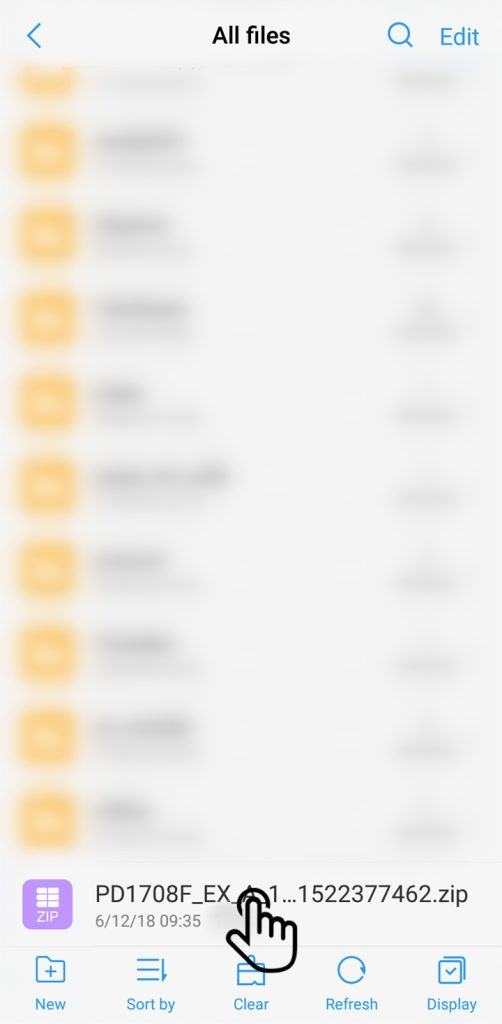
2. Move it to the root directory of your phone storage or SD card without decompressing.
Note: The root directory is basically the first thing you see when you open a file explorer on your phone. In other words, do not put the file in a folder. The files which you can find in Phone storage interface of File Manager locate the root directory.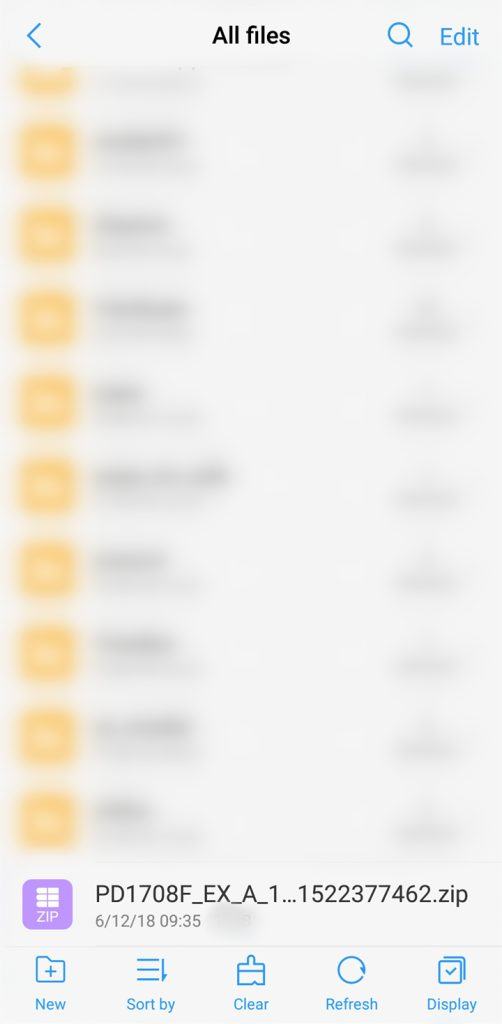
3. Install the firmware:
If you can enter your phone, click the firmware in File Manager to install it.
If you cannot enter your phone:
- For the fullview display phones: Press and hold Power button and Volume up button simultaneously until vivo logo appears to enter Fastboot mode. Select Recovery mode by pressing Volume down button and enter it by pressing Power button. Then select Install update>Phone Storage or SD card>select the firmware>touch Next to install it.
- For the phones with the 16:9 display screen: Press and hold Power button and Volume up button simultaneously until vivo logo appears to enter Recovery mode. Then select Install update>Phone Storage or SD card>select the firmware>touch Next to install it(For Funtouch OS 2.0 and lower version, select “apply update from internal sdcard(Phone storage)” or “apply update from external sdcard(SD card)”, then select the firmware to install).